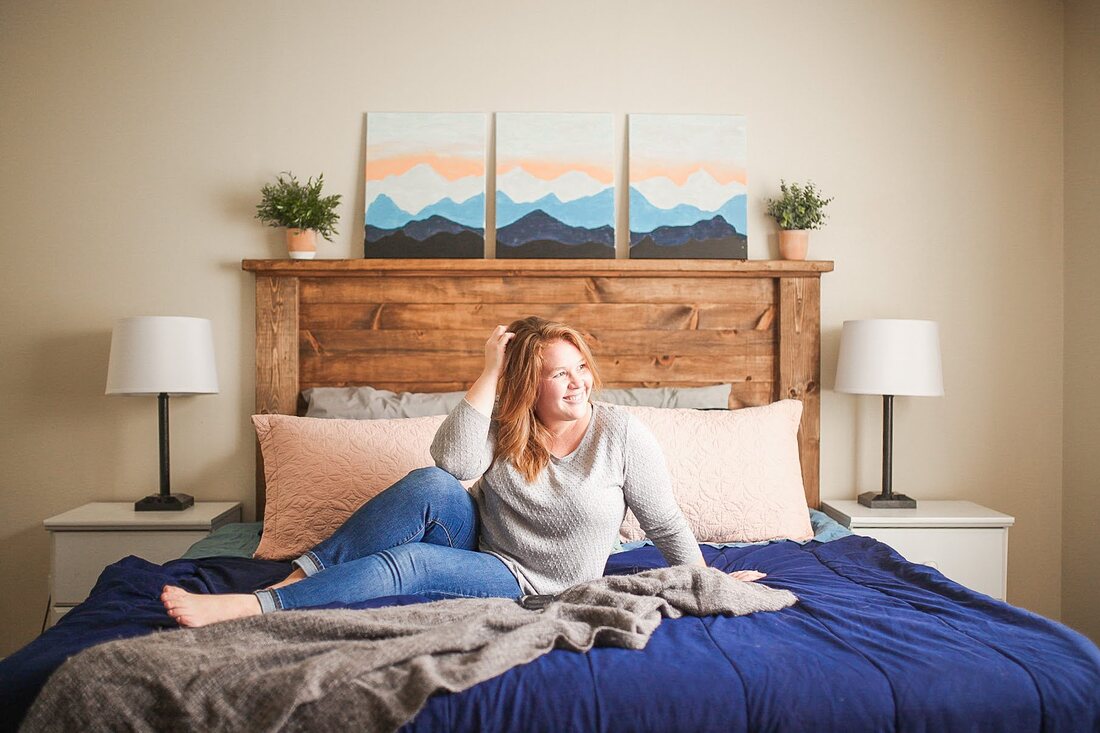
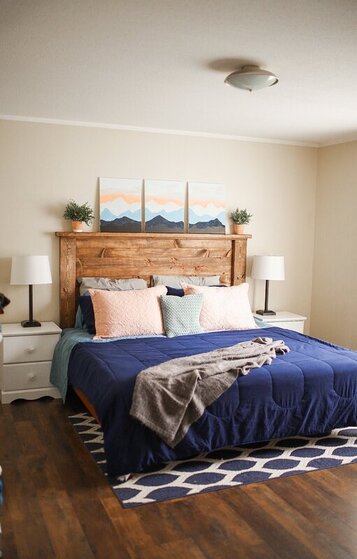
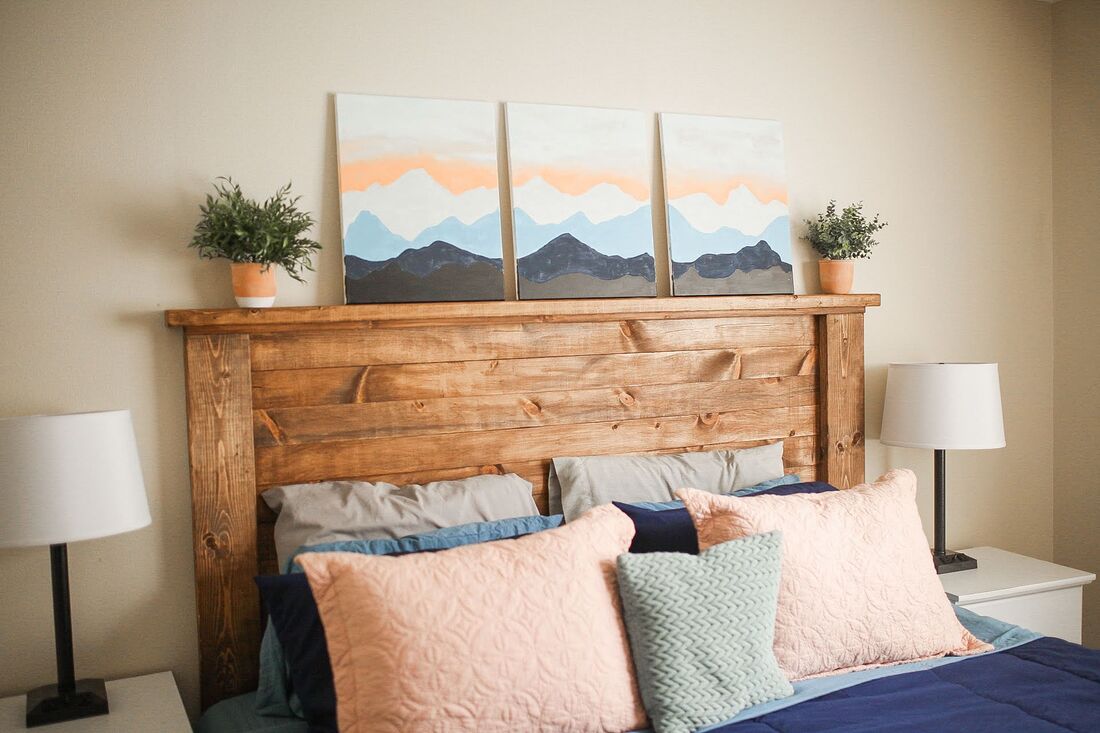
When we moved into our house, I knew that we needed a new headboard that filled some of the space on the wall. I had a vision for what I wanted but everything I looked at online was several hundred dollars. So I said "no thanks" to that and decided to make one myself.
I took measurements of our bed and determined the height that I needed. After that it was time for a trip to Lowes!
Materials:
Materials:
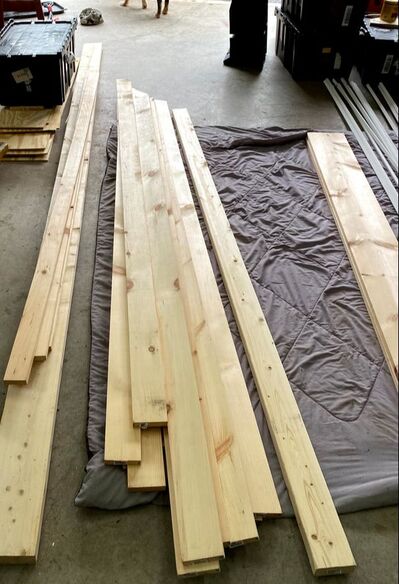
- 2 - 2x6 boards (cut to 54 inches)
- 1 - 2x4 board (cut to 75.5 inches)
- 1 - 1x3 board (cut to 75.5 inches)
- 12 - 1x4 boards (cut to 75.5 inches)
- Mounting bracket for the wall
- Wood glue
- Screws (I used 1.5 inch drywall screws)
- Palm sander or sanding block
- Stain (my favorite is Minwax Special Walnut)
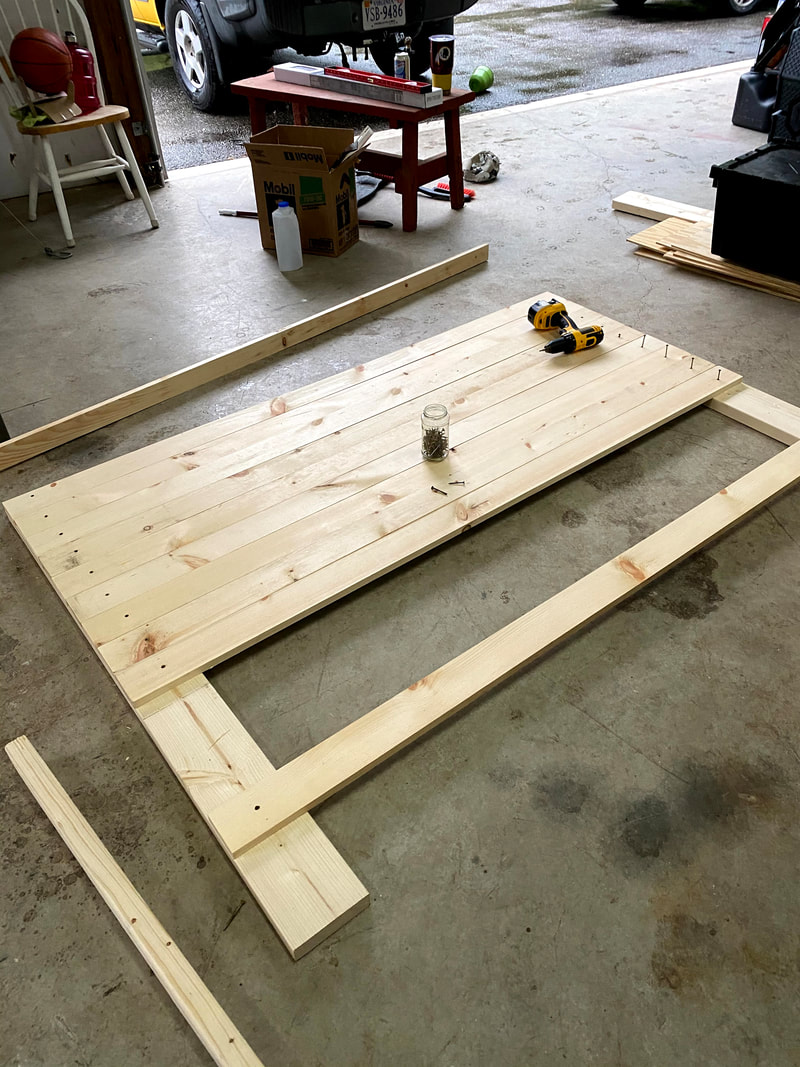
After I cut down all of the boards, it was time to lay out my 2x6 boards face down. I used my speed square to make sure each of my 1x4 boards were straight on the back side of my 2x6s. Make sure that you examine the 1x4 boards to determine which side you like best/has the least amount of flaws. You will also need to place your 1x4s face down as well so you can screw them into your 2x6 pieces.
I started by securing one piece at the top and one about a foot from the bottom to give the base support. Afterwards the rest of my boards starting at the top and working my way down. I screwed in each piece making sure to leave the least amount of gaps between each piece.
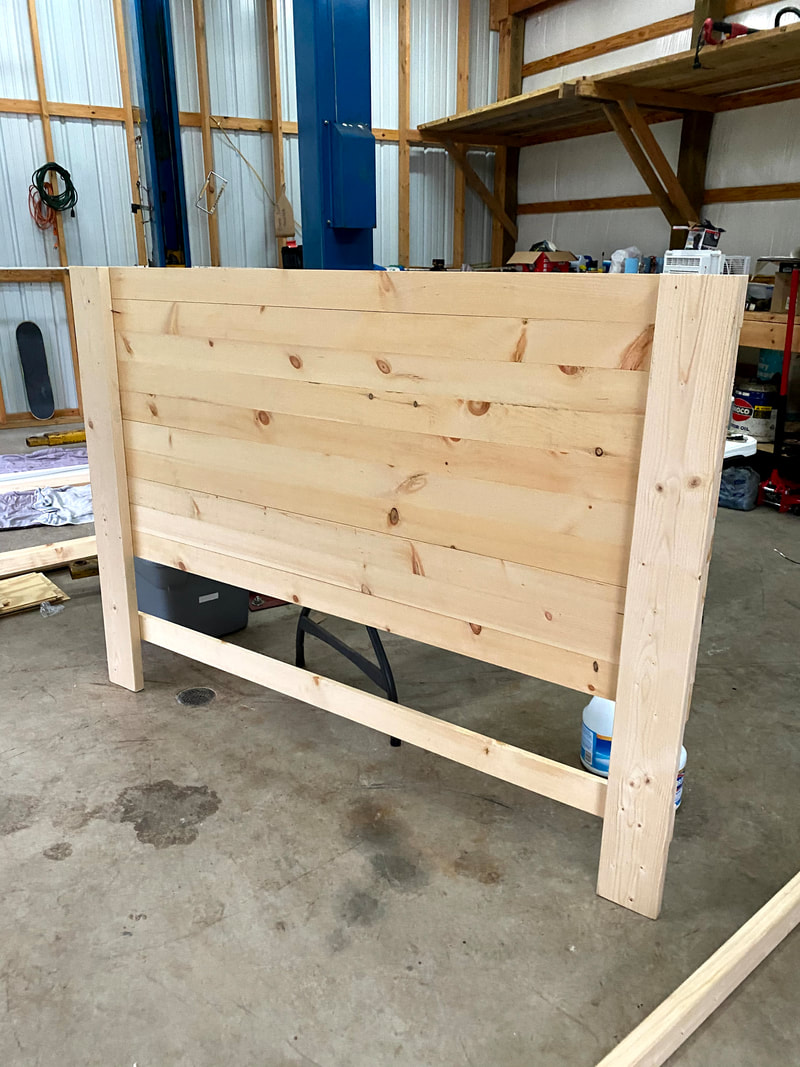
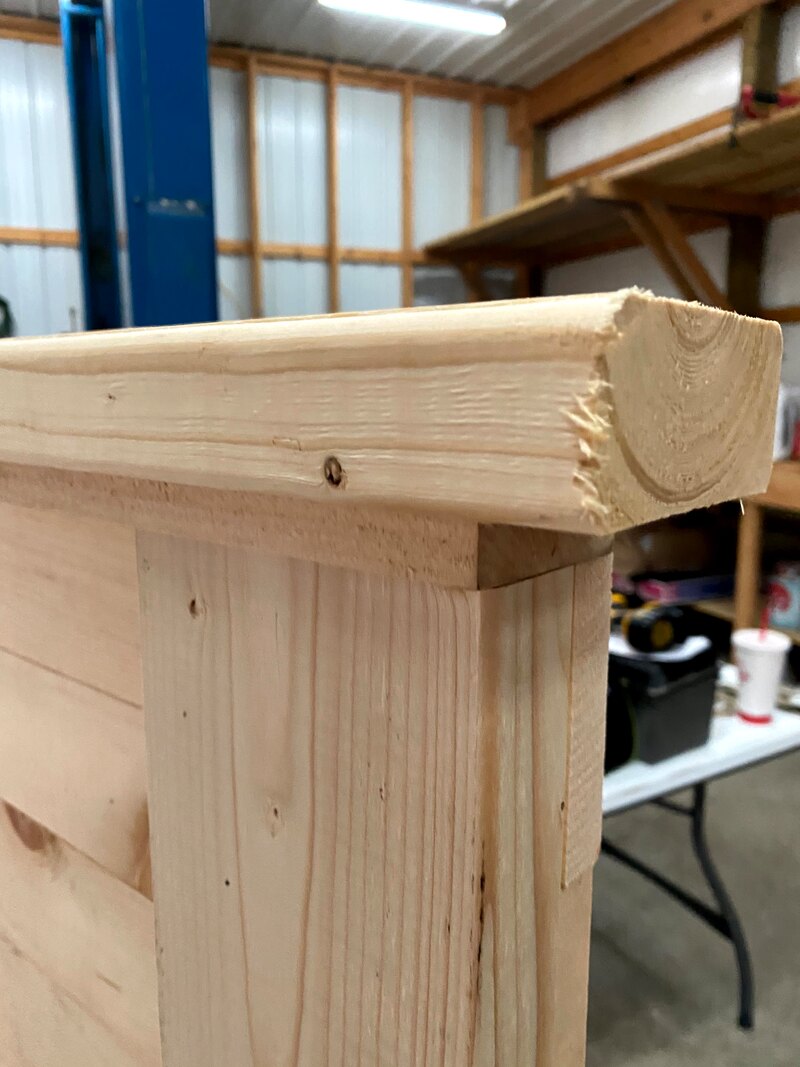
After getting my backboard secured, I stood it up to get started on the top. I used a 1x3 board first, making sure it was flush with the boards on the back. This way it will sit nicely along wall without any gaps. Next, I used a 2x4 to give the top the thicker/chunky look I was going for. In the image below, you can see that it need quite a bit of clean up and sanding.
I filled all of the holes and gaps on the sides, then it was time to sand everything. This was a process and I should have slowed down a little more than I did. Make sure you don't go too fast on this step. Take your time.
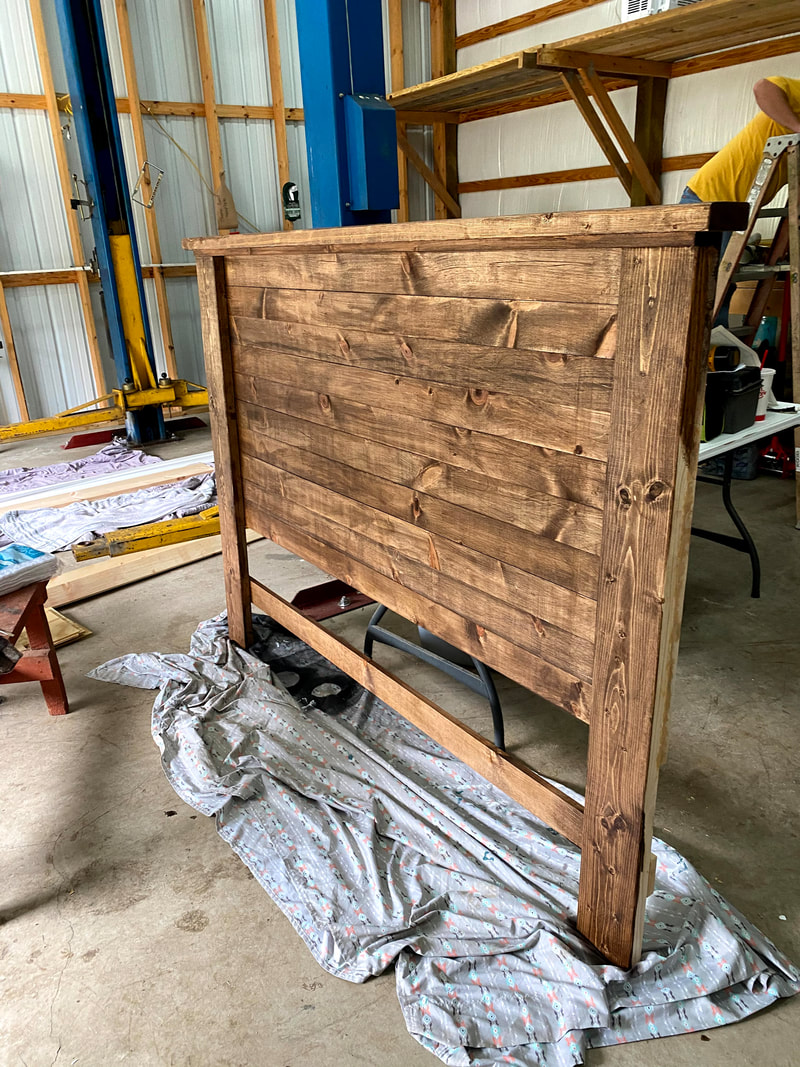
Finally, it was time for stain and polycrylic clear coat to protect the wood.
Finally, it was time for stain and polycrylic clear coat to protect the wood.
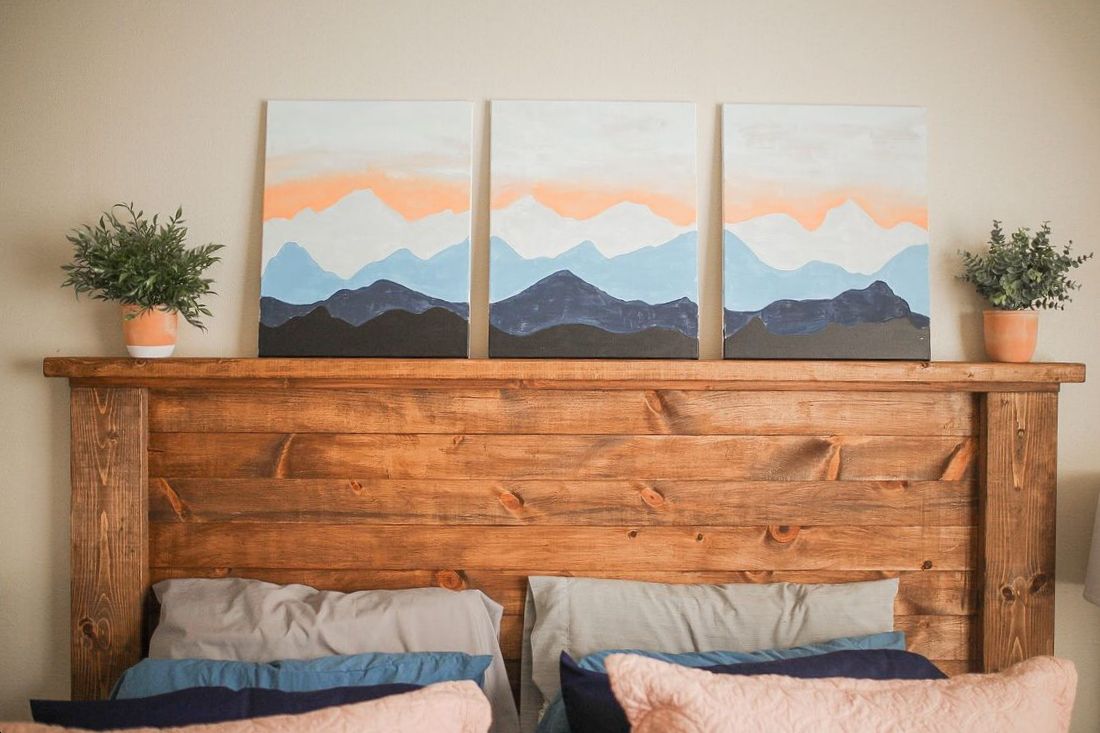
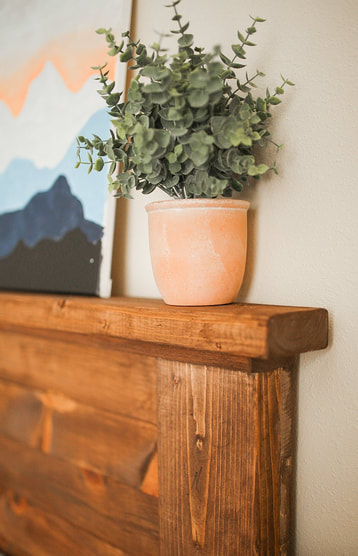
Time to decorate!

